DSRAZOR for eDirectory
Point-and-click reporting, management, and delegation.
eDirectory for Novell OES Servers
Quickly detail file permissions, report and manage users and groups, and easily delegate management tasks.
Free Trial Request a Demo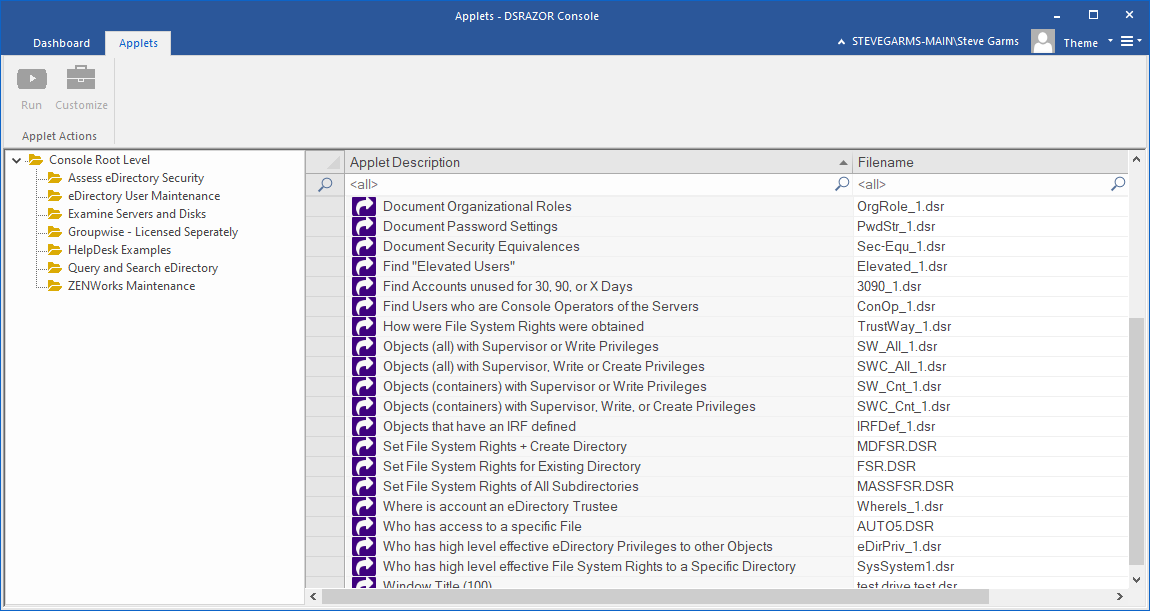
Get a free trial of DSRAZOR for eDirectory today!
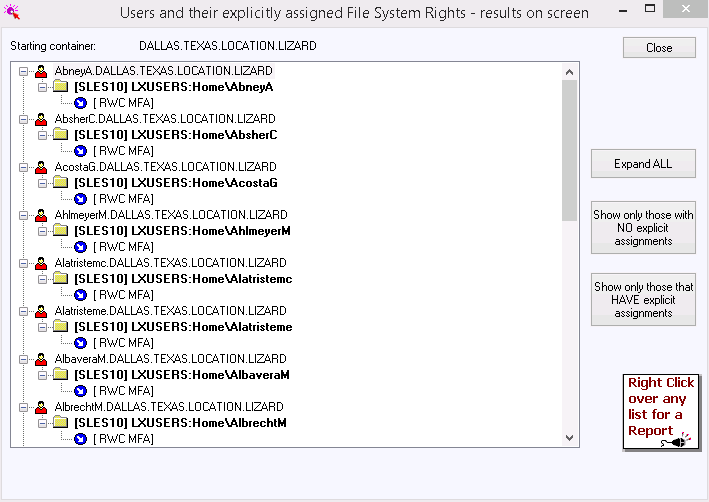
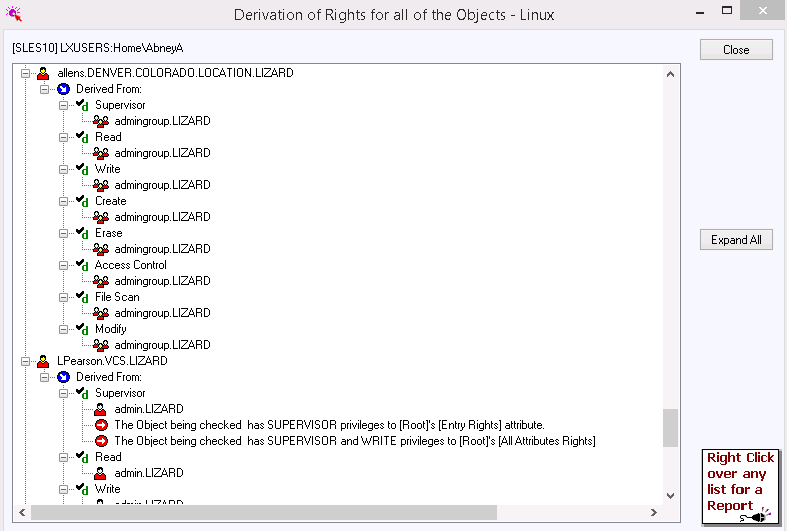
Easily document file and folder permissions Quickly see who has access to what.
Create simple reports detailing the type of access users and groups have to your file servers' volumes, directories, and files. Reports are customizable and can include specific eDirectory attributes for each trustee, including their Title, Office, and Department.
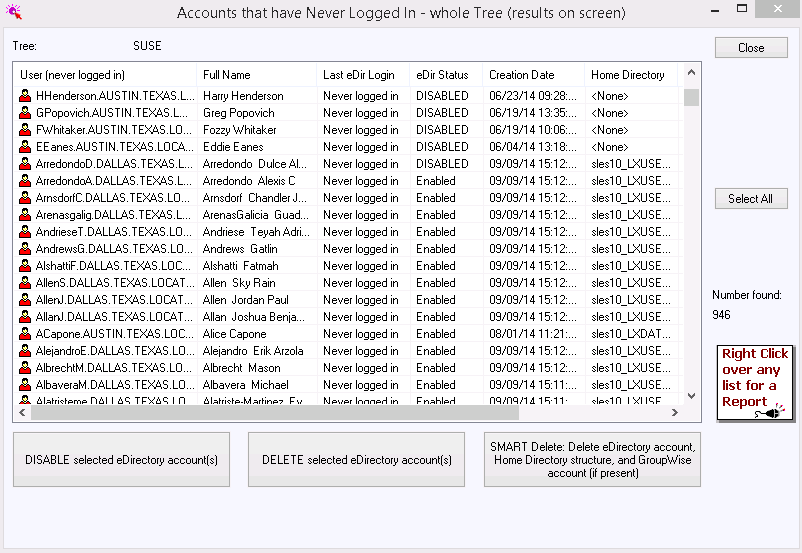
Report on any eDirectory object and their attributes Comprehensively audit and document your vital eDirectory data
Filter on nearly any eDirectory attribute or combination of attributes. DSRAZOR for eDirectory can provide reports of...
- Accounts that are locked, disabled, or expired
- Accounts unused for X days
- Accounts where last logon failed
- Group Membership
- Disabled Computer Objects
- and much more!
Learn More

Effectively manage eDirectory - no scripting required! Fully customizable tools to suit your needs.
Simplify your job by staying on top of eDirectory management tasks. With DSRAZOR for eDirectory, you can quicly perform and even automate the following tasks...
- Create/Import/Update users and groups
- Delete/Move unused users and groups
- Reset passwords in bulk
- Perform mass object imports from a CSV file
- Modify trustee permissions for desired directories
- and much more!
Learn More
Allow non-admins to perform eDirectory management functions.
Delegate the small stuff, focus on the big stuff.
With the Zero Privilege Help Desk your help desk operators will no longer require admin-equivalent permissions. The Zero Privilege Help Desk enables your non-admin users to complete their work without compromising your control and security.
The Zero Privilege Help Desk is compatible with all DSRAZOR for eDirectory management applets.
Learn More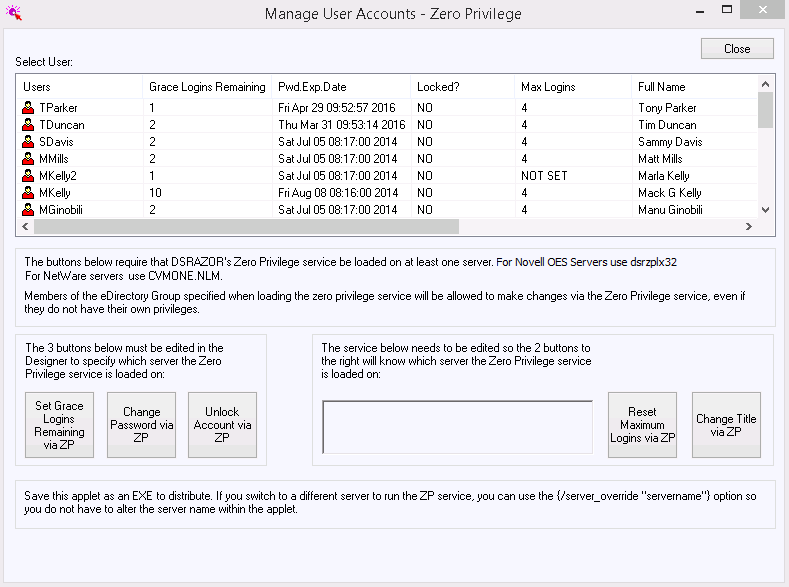
DSRAZOR includes 1 YEAR of our world class support!
Unlimited Training
We'll make sure you can take advantage of everything DSRAZOR has to offer.
Unlimited Support
Our rapid-response support team can assist with any questions you may have.
Custom Applet Design
Need more? Just ask! We'll create a custom solution that fits your needs.
